Enhanced Software Suite Maximizes Non-Destructive Evaluation (NDE) Methods
Materials and Coatings
Enhanced Software Suite Maximizes Non-Destructive Evaluation (NDE) Methods (MSC-TOPS-34)
New capabilities boost scope and resolution of Flash Thermography NDE
Overview
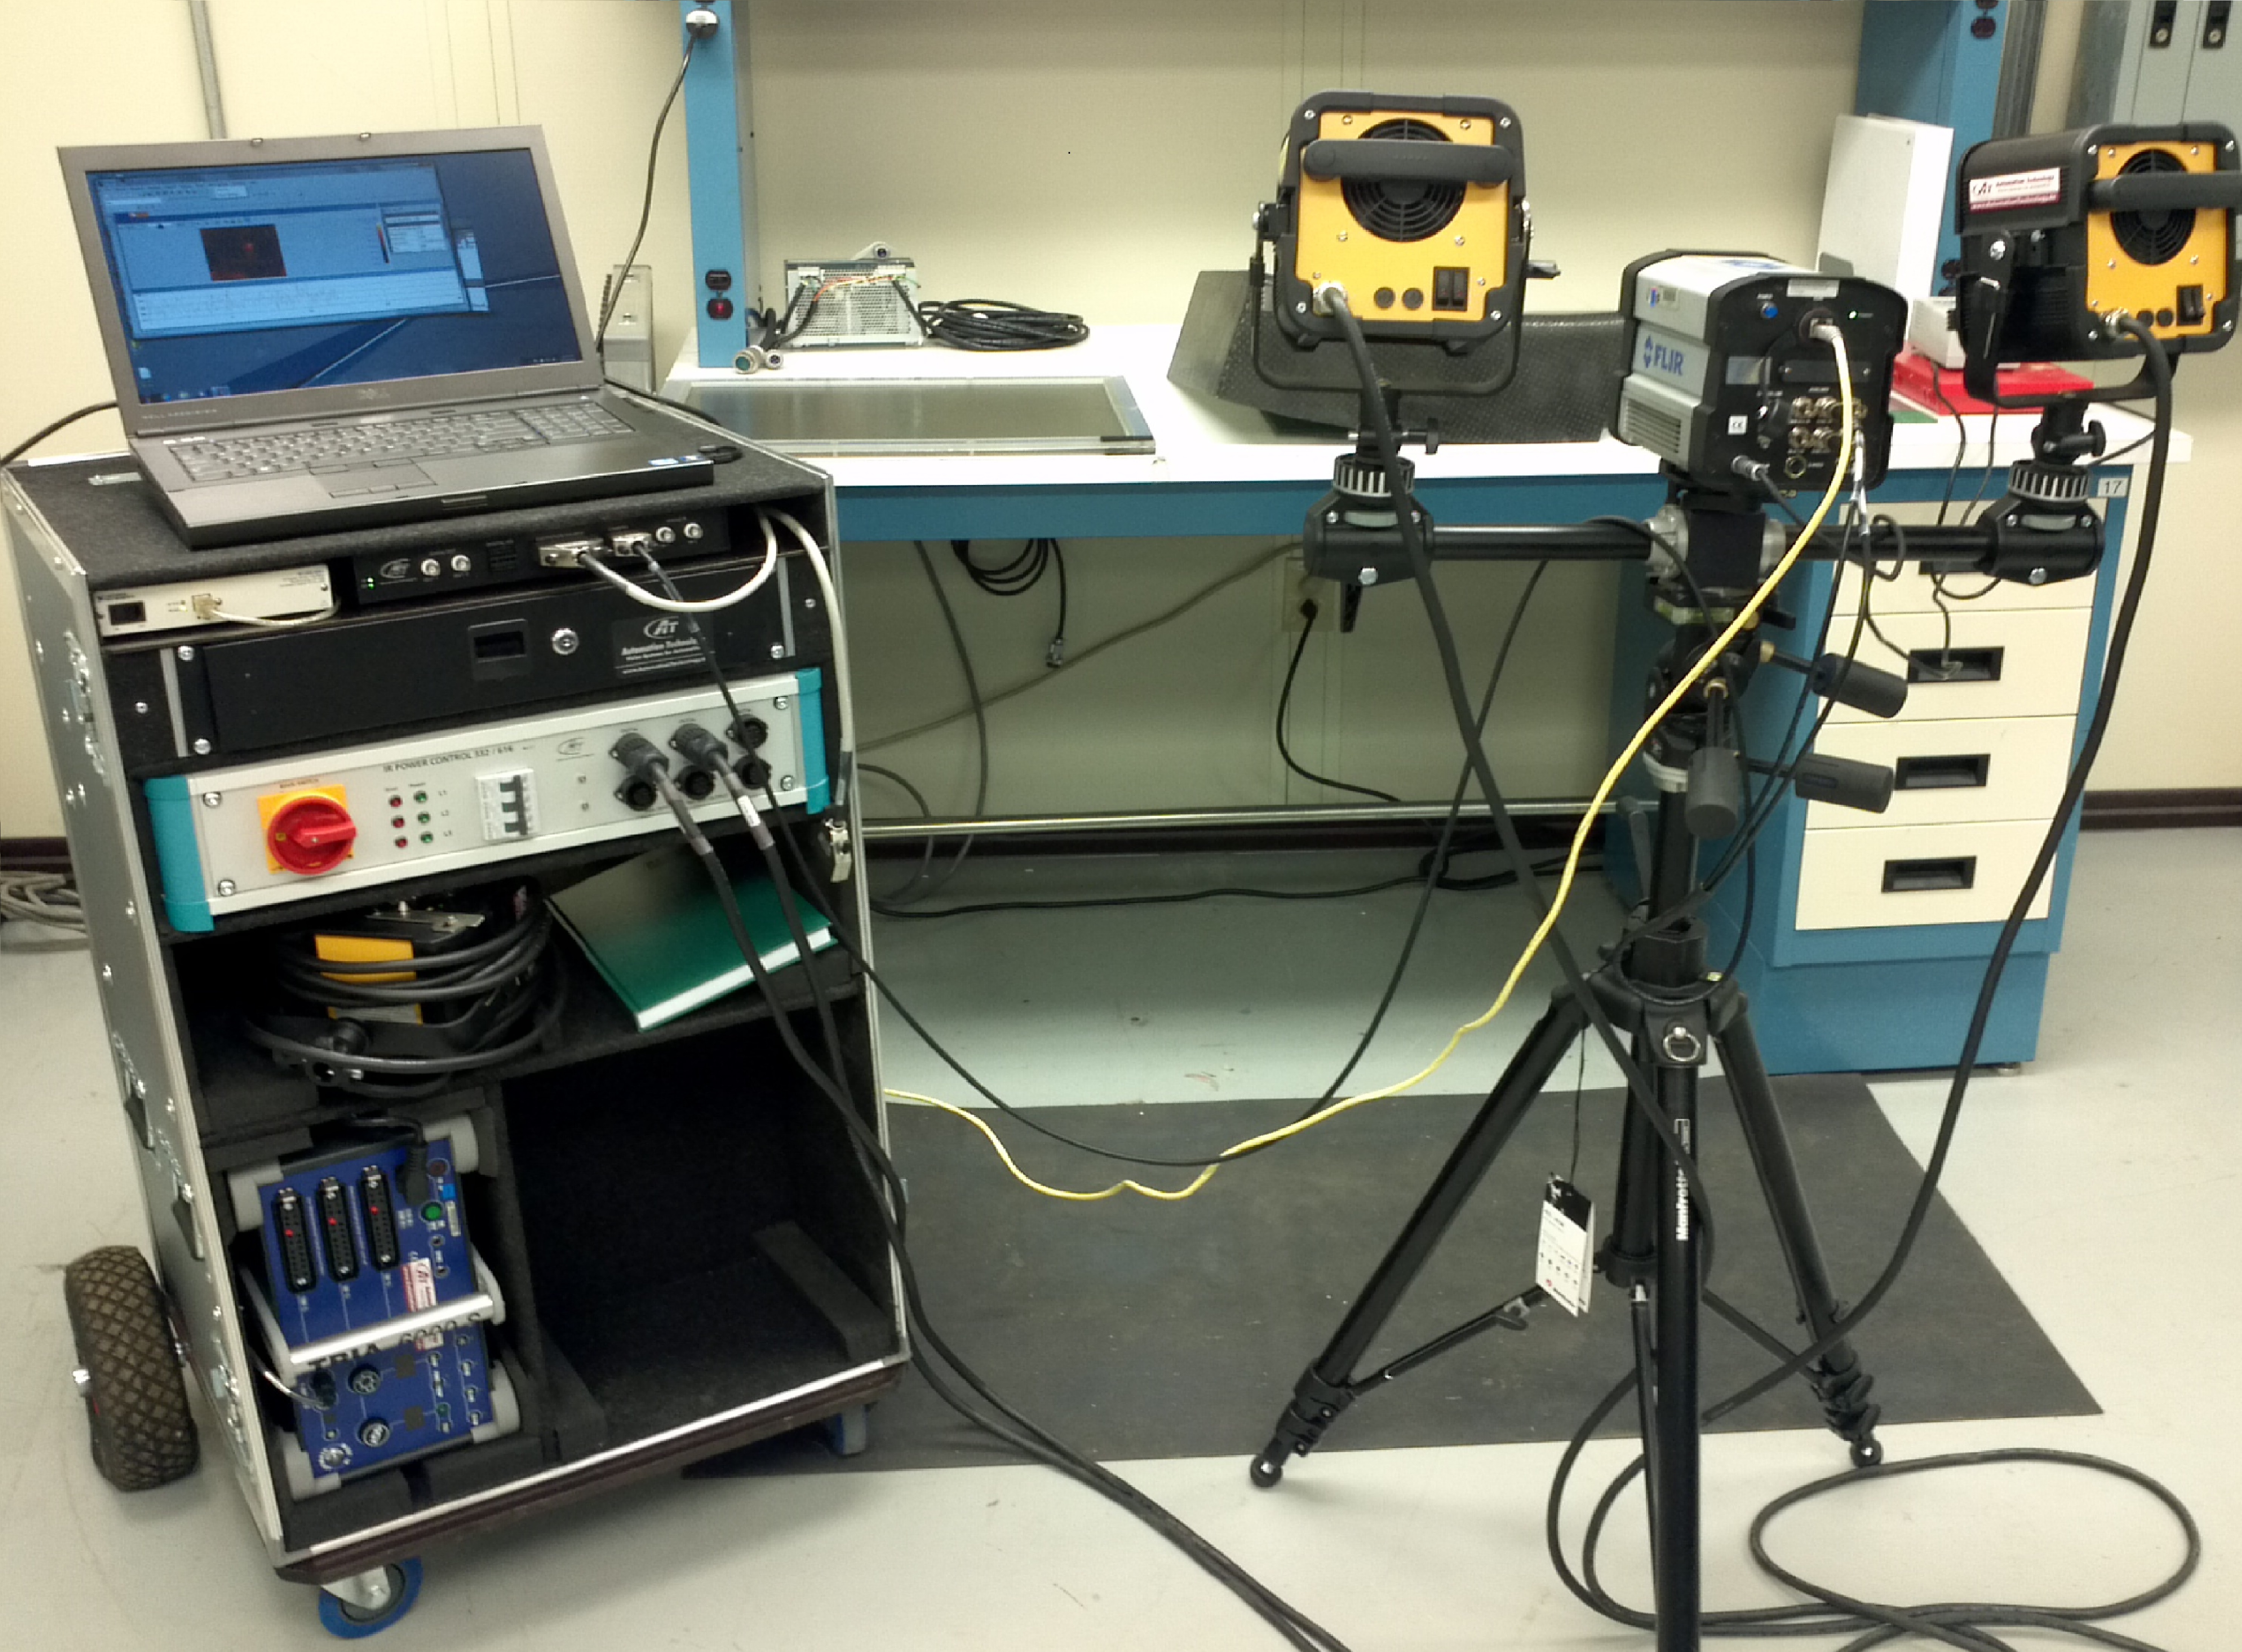
Researchers at NASA Johnson Space Center have developed novel techniques for post-processing of flash infrared (IR) thermography data, providing efficient and cost-effective enhancements to Non-Destructive Evaluation (NDE) of structures for numerous applications. Compatible with commercial IR thermography products, this suite of tools provides both quantitative and qualitative data analysis capabilities and reliable detection and characterization of anomalies in composite and some metallic hardware. By adding the Transient Thermography method, which is able to detect flaws on thicker parts faster than other methods, and the Lock-in Thermography method, which uses a sinusoidal power cycle to provide better flaw resolution, the Flash Thermography NDE Technology Suite has expanded its applicability to other commonly used infrared thermography techniques, enhancing operator accuracy and efficiency.
The Technology
This technology provides comprehensive, detailed, and accurate NDE detection and characterization of subsurface defects in composites and some metallic hardware. This complete software suite normalizes and calibrates the data, which provides more stable measurements and reduces the occurrence of errors due to the operator and to camera variability.
When using flash IR thermography to evaluate materials, variations in the thermal diffusivity of the material manifest themselves as anomalies in the IR image of the test surface. Post-processing of this raw IR camera data provides highly detailed analysis of the size and characterization of anomalies. The newly incorporated Transient and Lock-In Thermography methods allow the analysis of thicker material and with better flaw resolution than Flash Thermography alone.
The peak contrast and peak contrast time profiles generated through this analysis provide quantitative interpretation of the images, including detailed information about the size and shape of the anomalies. The persistence energy and persistence time profiles provide highly sensitive data for detected anomalies. Peak contrast, peak time, persistence time, and persistence energy measurements also enable monitoring for flaw growth and signal response to flaw size analysis.
This technology is at a technology readiness level (TRL) of 7 (system prototype demonstration in an operational environment), and the innovation is now available for your company to license. Please note that NASA does not manufacture products itself for commercial sale.


Benefits
- Provides enhanced quantitative and qualitative flaw data utilizing a comprehensive software tool suite
- Quickly extracts and constructs images
- Compatible with existing flash thermography hardware systems
- Applies improved signal-to-noise ratio and flaw detection sensitivity
- Detects anomalies in thicker materials
- Supports standardization of system components
Applications
- Aerospace structures and subcomponents
- Power generation system hardware
- Chemical and fuel refining components
- Civil and structural verification
- Marine and automotive structures and subcomponents
Technology Details
Materials and Coatings
MSC-TOPS-34
MSC-24444-1
MSC-24506-1
MSC-24506-2
MSC-26052-1
MSC-26358-1
MSC-26359-1
MSC-26359-2
|
Tags:
|
|
|
Related Links:
|
Similar Results

Advanced Thermal Inspection with Pulsed Light Emitting Diodes (PLED) Technology
NASA’s PLED thermal inspection system consists of an array of high- powered LED chips configured to deliver controlled pulses of visible light. The system includes 8 LED chip arrays, mounted on an aluminum heat sink and housed in a hood configuration. The inspection hood is specially designed with filters to prevent internal reflections. The LEDs are powered by regulated power supplies and controlled via a computer interface that synchronizes heat pulses with an infrared camera. An acrylic filter is placed over the LEDs to block residual infrared radiation, ensuring that only visible light reaches the target surface. The system’s infrared camera, operating in the mid-wave infrared (MWIR) range does not detect the visible light and captures the transient thermal response of the material, allowing for precise defect detection. By eliminating the need for high-intensity broadband infrared sources, the PLED system provides a cleaner and more accurate thermal response, particularly for unpainted metals and additively manufactured (AM) components.
Performance validation of the PLED system has demonstrated significant advantages over traditional flash thermography. In tests on aluminum samples with material loss and AM Ti-6Al-4V metal specimens, the PLED system successfully detected defects with superior contrast and no heat source reflections. Principal Component Analysis (PCA) applied to PLED inspection data revealed clearer defect indications compared to flash-based methods, which introduced unwanted artifacts due to transient reflections. Additionally, the PLED system enabled quantitative thermal diffusivity measurements, offering a new approach to single-sided material characterization.
NASA's PLED thermal inspection technology is available for patent licensing. Potential applications include corrosion detection in aerospace components, quality control of AM metal parts, structural health monitoring of industrial materials, and more.

In-situ Characterization and Inspection of Additive Manufacturing Deposits using Transient Infrared Thermography
Additive manufacturing or 3-D printing is a rapidly growing field where solid, objects can be produced layer by layer. This technology will have a significant impact in many areas including industrial manufacturing, medical, architecture, aerospace, and automotive. The advantages of additive manufacturing are reduction in material costs due to near net shape part builds, minimal machining required, computer assisted builds for rapid prototyping, and mass production capability. Traditional thermal nondestructive evaluation (NDE) techniques typically use a stationary heat source such as flash or quartz lamp heating to induce a temperature rise. The defects such as cracks, delamination damage, or voids block the heat flow and therefore cause a change in the transient heat flow response. There are drawbacks to these methods.

Large Area Structural Damage Nondestructive Evaluation
This technology provides a methodology to measure damage onset and grow at multiple locations in a composite structure during fatigue loading. The thermography inspection is non-contact and can cover very large areas. The acoustic emission sensors require contact at only the sensor attachment points and can cover large areas. The acoustic emission measurement is very sensitive to damage formation events such as matrix cracking, fiber breaks, and delamination, however the event location is approximate. An infrared camera is able to detect damage growth and location at areas of heating (due to fiber breaks, rubbing of disbond areas and matrix cracks) and thus confirm the acoustic emission measurements. If the loading is cyclic the infrared camera is also able to detect the relative depth of the damage. Combining both technologies helps to reduce false indications, confirm damage growth areas and where ultimate failure will occur. This provides a measurement capability to detect growing damage (location and size) for improved structures testing or during in-service applications. Multiple infrared (IR) cameras and multiple acoustic emission sensors can be employed internally or externally for full coverage of the structure. When significant damage growth is detected, the structure can be taken out of service for repair or for further inspections. This technology has been demonstrated for structures testing. In-situ NDE inspections are necessary to provide structural engineers a tool to incrementally control and document damage growth as a function of fatigue cycles before failure. This allows for the comparison of NDE results to develop and validate progressive damage analysis (PDA) models. The ultimate goal is to use the validated PDA models to decrease the time required to certify composite structures and therefore save development costs. Real time NDE can document the progression of damage and provide the documentation of ultimate failure mechanisms.

Thin Film Sensor for Ultra High-Temp Measurement
The thin film sensor’s principal advantage lies in its potential to take high frequency temperature measurements from the surface of a reentering spacecraft while simultaneously withstanding the high temperature and oxidizing environment encountered. This data provides engineers with operational phase measurements used to refine the spacecraft’s operational envelope and track flight hardware behavior in addition to providing high frequency temperature measurements that can inform the physics of a boundary layer.
Mismatches in coefficients of thermal expansion (CTE) are expected in TPS-based sensor applications because the metallic materials used for temperature sensing have thermal expansion rates that differ from the rates of the substrate and coating materials in the TPS. At high temperatures during reentry, this mismatch in CTE can create a significant strain differential between the metallic sensor, sensor leads, and the materials to which the sensor and leads are bonded.
High frequency response temperature measurements on the surface of entry spacecraft are not currently possible above ~700 F with existing measurement capabilities. This shortcoming is primarily due to the need for robust sensor behavior at temperatures of several thousand degrees F. The sensor design of this technology preserves the integrity of sensor components while enhancing its high temperature functionality.
The thin film temperature sensor has a technology readiness level (TRL) 5 (Component and/or breadboard validation in relevant environment) and is now available for patent licensing. Please note that NASA does not manufacture products itself for commercial sale.

System for In-situ Defect Detection in Composites During Cure
NASA's System for In-situ Defect (e.g., porosity, fiber waviness) Detection in Composites During Cure consists of an ultrasonic portable automated C-Scan system with an attached ultrasonic contact probe. This scanner is placed inside of an insulated vessel that protects the temperature-sensitive components of the scanner. A liquid nitrogen cooling systems keeps the interior of the vessel below 38°C. A motorized X-Y raster scanner is mounted inside an unsealed cooling container made of porous insulation boards with a cantilever scanning arm protruding out of the cooling container through a slot. The cooling container that houses the X-Y raster scanner is periodically cooled using a liquid nitrogen (LN2) delivery system. Flexible bellows in the slot opening of the box minimize heat transfer between the box and the external autoclave environment. The box and scanning arm are located on a precision cast tool plate. A thin layer of ultrasonic couplant is placed between the transducer and the tool plate. The composite parts are vacuum bagged on the other side of the tool plate and inspected. The scanning system inside of the vessel is connected to the controller outside of the autoclave. The system can provide A-scan, B-scan, and C-scan images of the composite panel at multiple times during the cure process.
The in-situ system provides higher resolution data to find, characterize, and track defects during cure better than other cure monitoring techniques. In addition, this system also shows the through-thickness location of any composite manufacturing defects during cure with real-time localization and tracking. This has been demonstrated for both intentionally introduced porosity (i.e., trapped during layup) as well processing induced porosity (e.g., resulting from uneven pressure distribution on a part). The technology can be used as a non-destructive evaluation system when making composite parts in in an oven or an autoclave, including thermosets, thermoplastics, composite laminates, high-temperature resins, and ceramics.


